Cancelling And Deleting An Event On miingl
Before You Start (Prerequisites)
To cancel or delete an event, you must:
Have a miingl account (Sign Up Here)
Be the host or co-host of the event
Have an existing miingl event or suite created
Only hosts and co-hosts can manage event status.
Prefer To Watch Instead?
If you’d rather see the process step by step, you can follow along with this short video walkthrough:
The video shows how to cancel an event first, and then optionally delete it.
You can watch first, read first, or use both together.
Canceling vs Deleting: What’s The Difference?
Before making changes, it helps to understand the distinction.
Canceling An Event
Marks the event as canceled
Keeps the event record in your account
Useful if plans change but you want a record
Deleting An Event
Permanently removes the event from your account
Can only be done after the event is canceled
Best for events created by mistake or no longer needed
In most cases, cancel first—then decide if deletion makes sense.
Step 1: Sign Into Your Account
Go to app.miingl.com and sign in using the account that hosts the event.
This can be either:
the original host, or
a co-host with event permissions
Step 2: Open Your Events
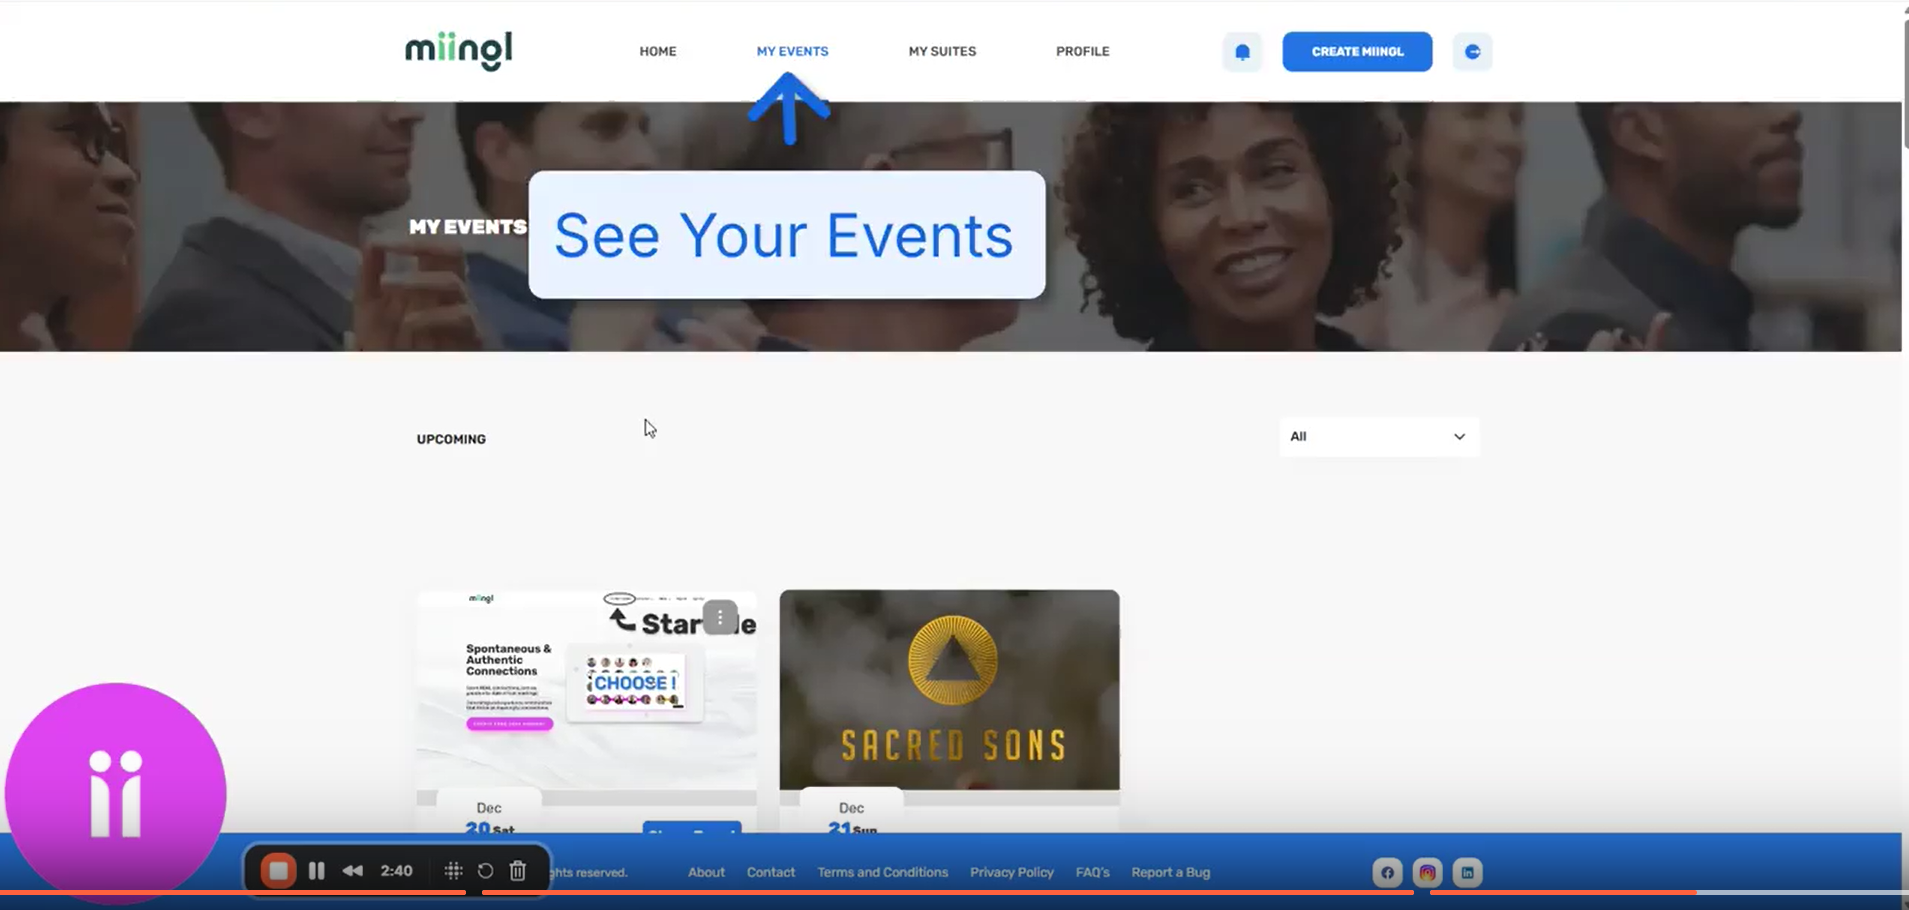
Once signed in:
Navigate to My Events
Locate the event you want to manage
You’ll see a list of all events associated with your account.
Step 3: Cancel The Event
To cancel an event:
Open the event’s action menu
Select Cancel Event
This immediately marks the event as canceled.
Step 4: Delete The Event (Optional)
If you want to remove the event completely:
Open the action menu again
Select Delete Event
Deleting is optional. If you want to keep a record of the event, you can stop after canceling.
Step 5: Confirm And Finish
Once canceled (and deleted, if chosen):
the event is no longer active
participants will no longer be able to join
The process is quick and does not affect your other events or subscriptions.
A Helpful Tip

If your event was ticketed:
manage any attendee communication or refunds through your nouri account
canceling the event in miingl does not automatically handle payments
(See Creating A Paid Workshop Or Ticketed Event for ticketing details.)
Where To Go Next
For related guidance:
Related Articles
How to Clone an Event on miingl
Cloning an event lets you quickly recreate a past event without starting from scratch. This is especially helpful for recurring workshops, repeated sessions, or events you plan to run again with minor updates. Important to Know Before You Start Only ...Setting Up Your miingl Workshop or Event Space
Intro This article explains how to set up a workshop or event space on miingl, from creating the event to inviting participants and tracking attendance. What You’ll Learn in This Article By the end of this guide, you’ll know how to: Create a new ...Hosting Your First Workshop or Event on miingl
Intro This article explains how to start and host your first workshop or event on miingl, including accessing your event, using host controls, managing participants, and ending the event. What You’ll Learn in This Article By the end of this guide, ...Inviting Speakers, Co-Hosts and Guests to Your miingl Event
Intro This article explains how to invite speakers, guests, and co-hosts to your miingl event, both during event creation and after your event has already been created. What You’ll Learn in This Article By the end of this guide, you’ll know how to: ...Creating A Paid Workshop Or Ticketed Event
Before You Start (Prerequisites) To create a paid workshop or ticketed event on miingl, you’ll need: A miingl account Sign Up Here An Event Host subscription A nouri account Sign up A Stripe account for payment processing Sign Up If you don’t have ...